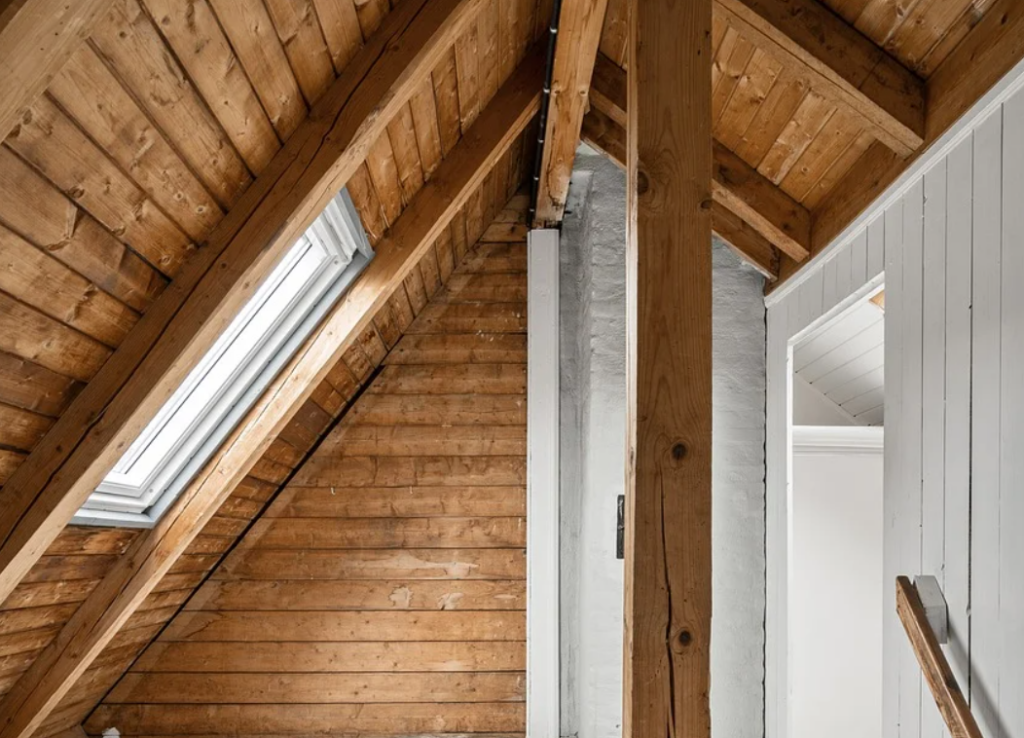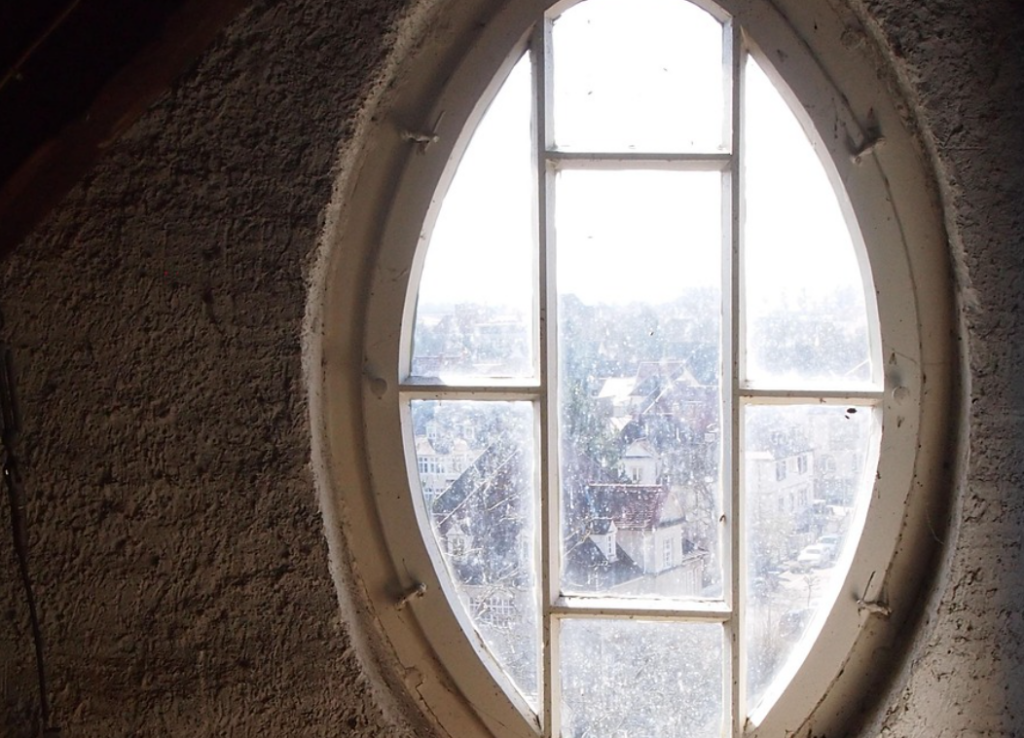
Many Toronto homeowners inherit old skylights that are foggy, drafty, or starting to leak. Replacing them is a chance not just to fix a problem, but to upgrade light, comfort, and energy performance. Modern skylights are safer, more efficient, and more versatile than older units, and roofers who work with them regularly tend to recommend a few key improvements.
1. Choose Energy Efficient Glazing
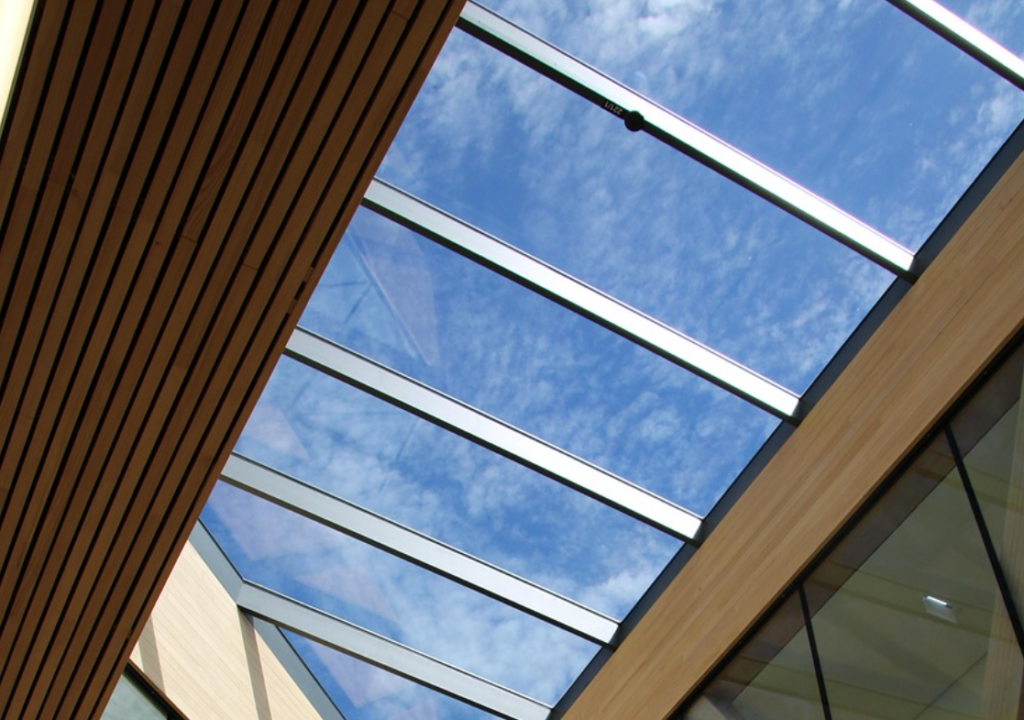
One of the most impactful upgrades is better glass. New skylights often come with:
- Double or triple glazing to reduce heat loss in winter
- Low‑E coatings that cut summer heat gain while still letting in plenty of light
- Argon gas fills between panes to further improve insulation
For Toronto’s mix of cold winters and warm summers, upgrading to energy efficient glazing can reduce drafts and hot spots and help keep indoor temperatures more stable year‑round.
2. Switch From Fixed To Vented Units Where It Makes Sense
If your existing skylight is fixed and the room often feels stuffy, replacing it with a vented unit can improve comfort. As discussed earlier, vented skylights allow hot air to escape and fresh air to enter, which is especially useful in:
- Top floor bedrooms
- Finished attic spaces
- Stairwells and upper hallways
Roofers will usually look at your roof pitch, interior layout, and access to determine whether a manual, electric, or solar powered vented skylight is the best choice during replacement.
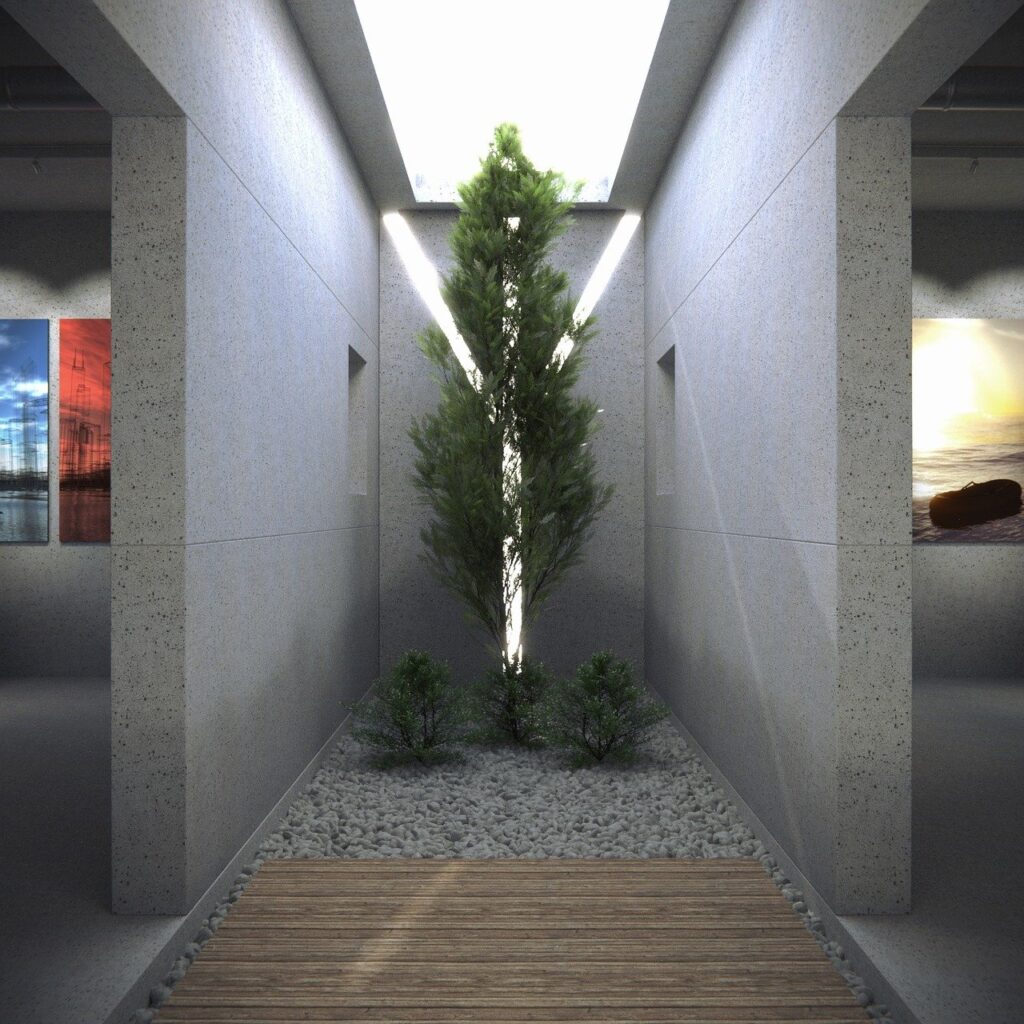
3. Add Built‑In Sun Control
Harsh sunlight can fade finishes and make rooms uncomfortably bright. Many modern skylight systems offer integrated options to soften or control light, such as:
- Factory‑fitted blinds or shades that can be manual or powered
- Tinted or diffused glazing that reduces glare while still allowing daylight
- Light diffusing glass that spreads light evenly instead of in sharp beams
Including sun control at replacement time helps you enjoy natural light without dealing with the “spotlight” effect or excessive heat on sunny days.
4. Improve Flashing And Roof Integration
Older skylights may have been installed with basic or improvised flashing details that are now breaking down. When replacing a skylight, roofers typically:
- Use manufacturer‑specific flashing kits designed for your roof type
- Repair or replace surrounding shingles or roofing panels for a clean tie‑in
- Check roof deck condition around the opening and reinforce as needed
This upgrade is less visible to homeowners but makes a big difference in long term leak resistance and overall roof performance.
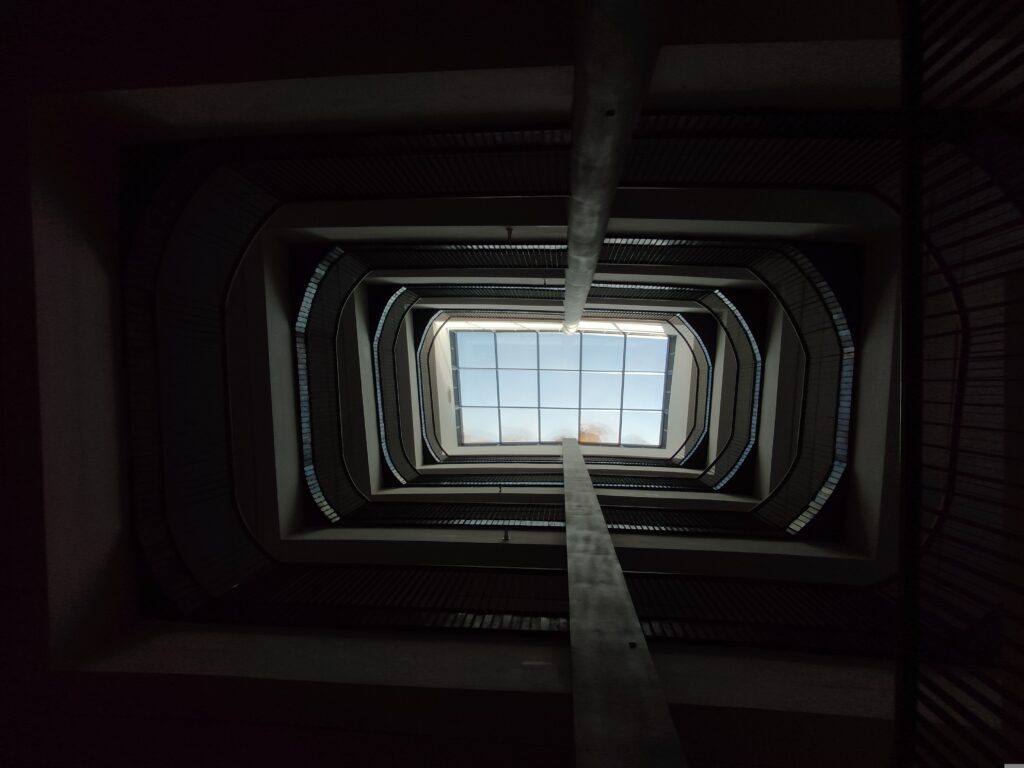
5. Right‑Size And Reposition For Better Light
Many existing skylights are either too small to make much impact or placed where they do not really help the room. Replacement is an opportunity to:
- Increase or slightly adjust the opening to bring more balanced light into key areas
- Line up skylight placement with room layout, such as over islands, stair landings, or seating areas
- Reduce or eliminate awkward glare on screens or work surfaces by thoughtful positioning
Roofers familiar with skylight replacement in Toronto can suggest adjustments that fit within structural limits while significantly improving how the room feels.
Why Plan Skylight Replacement With A Specialist
Replacing a skylight is not just a glass swap. It involves roofing, insulation, ventilation, and interior finish considerations. Working with a company like Aluplex gives you access to models designed for local weather, proper flashing systems, and advice on energy efficiency and comfort upgrades. If your current skylights are cloudy, drafty, or causing leaks, coordinating replacement with roof work during a milder season can give you better light and a more reliable roof in one project.